

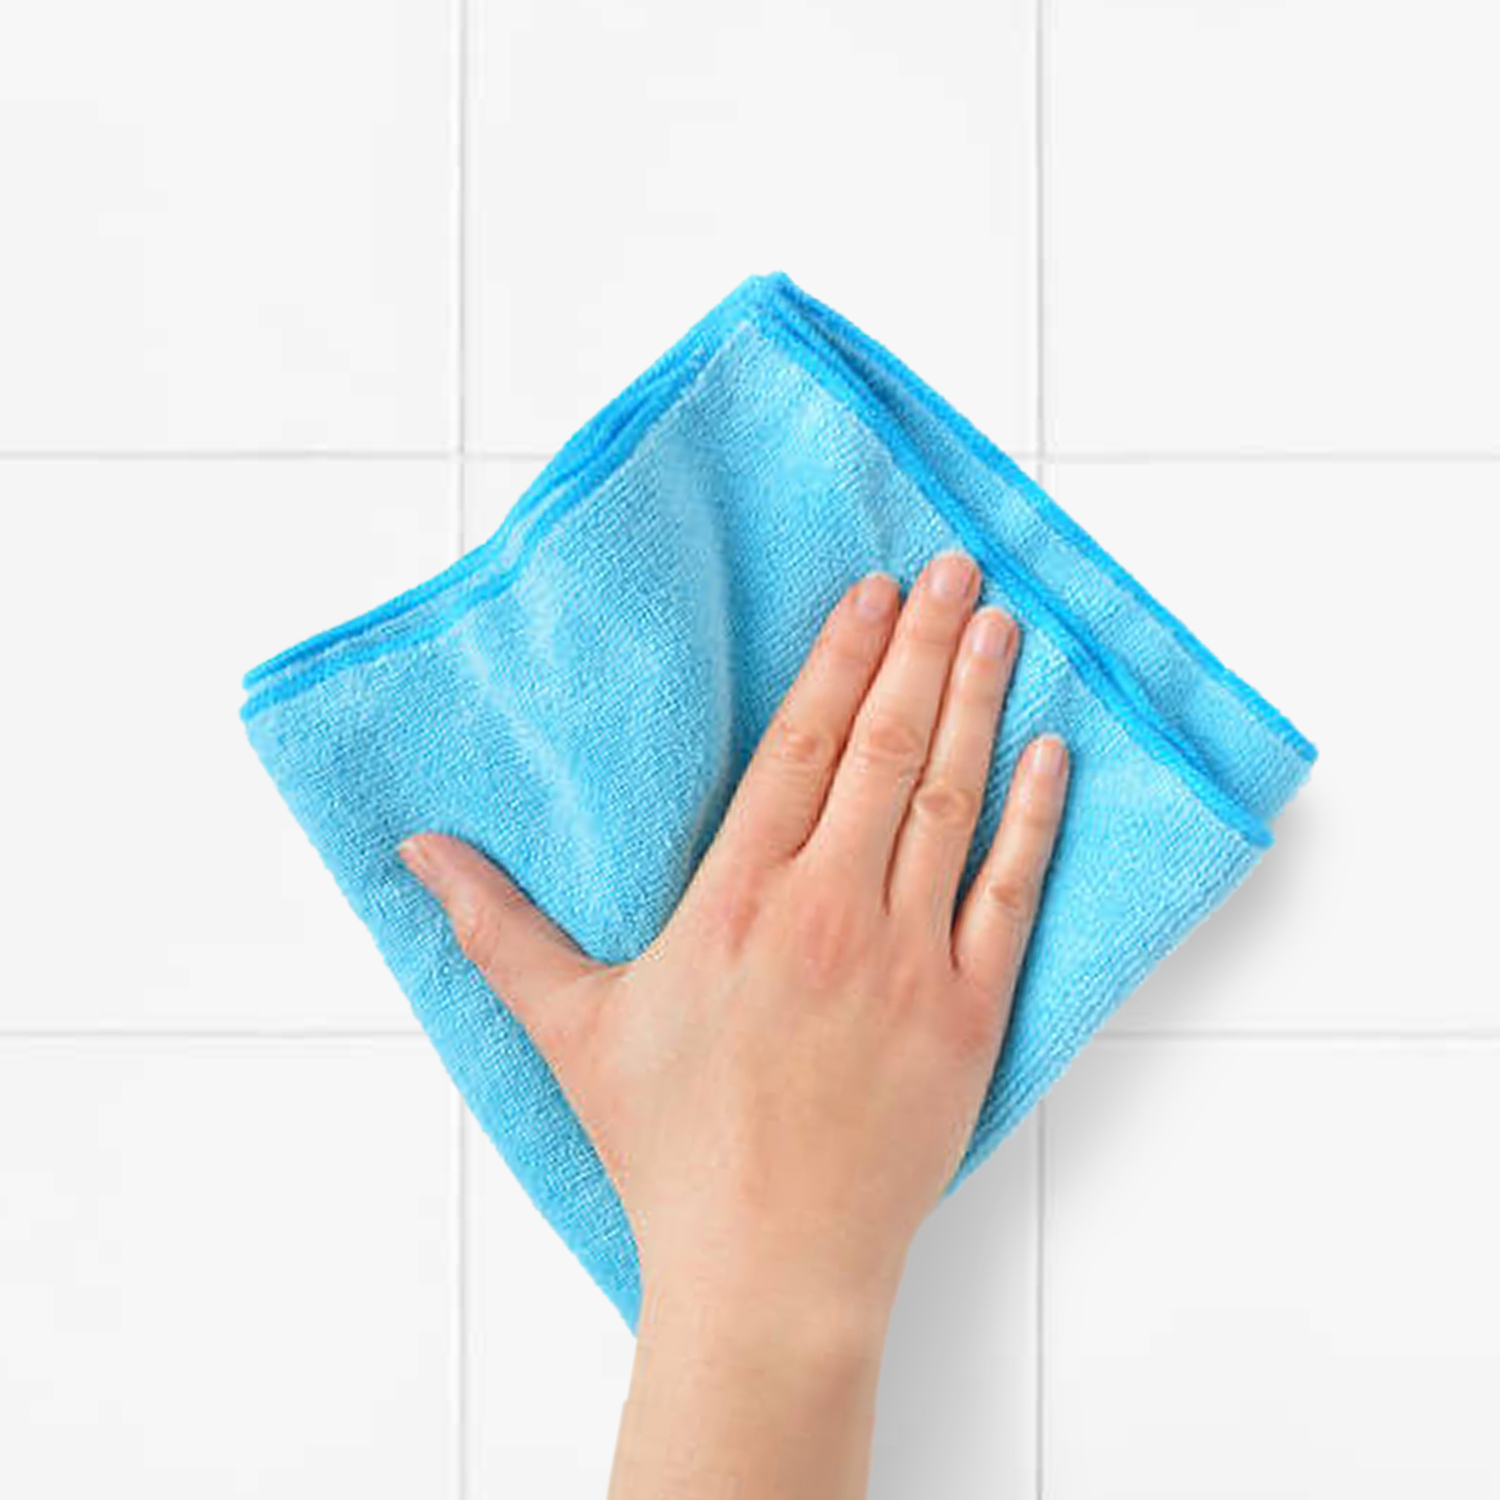
STEP 1 : Clean
Throughly clean & dry
the surface
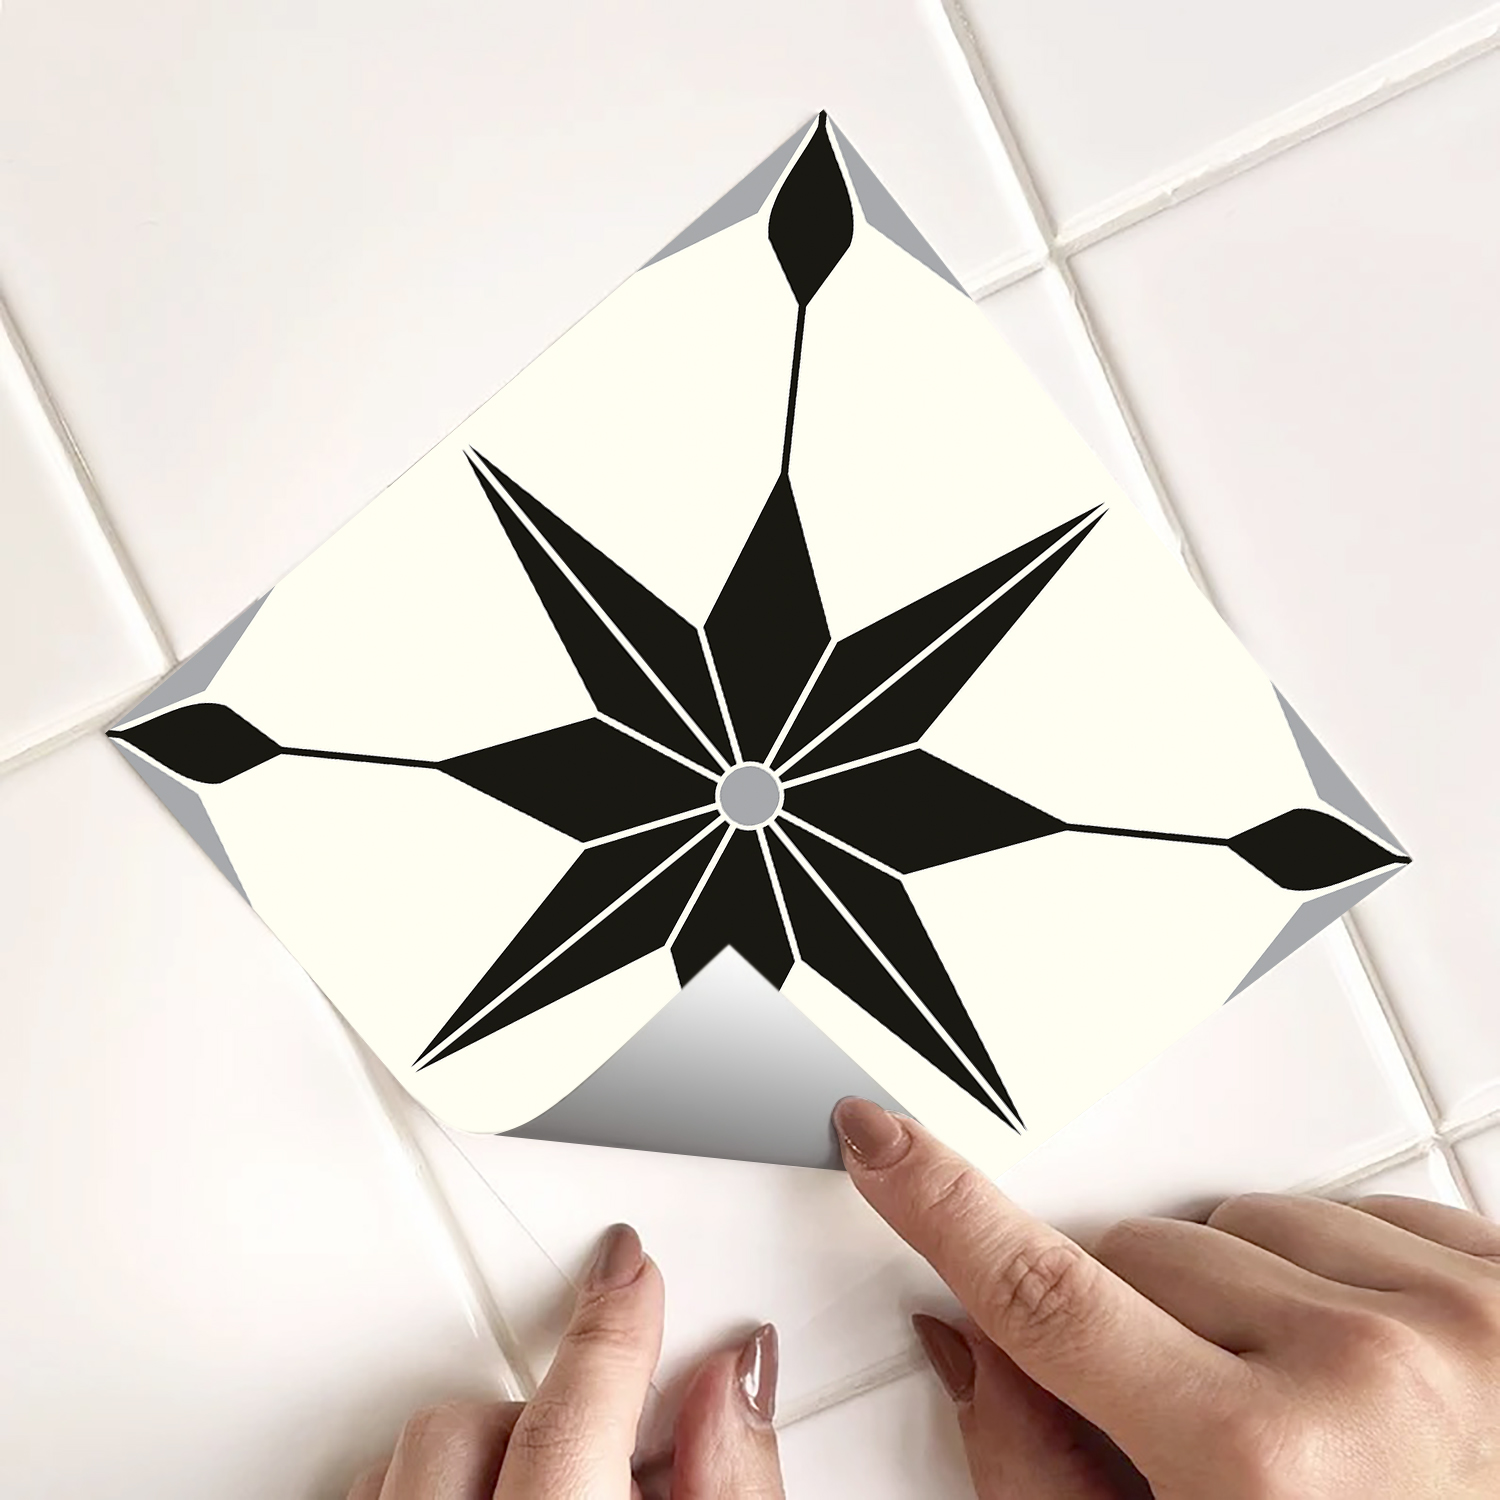
STEP 2 : Peel
Position the tile, Peel the backing paper behind.
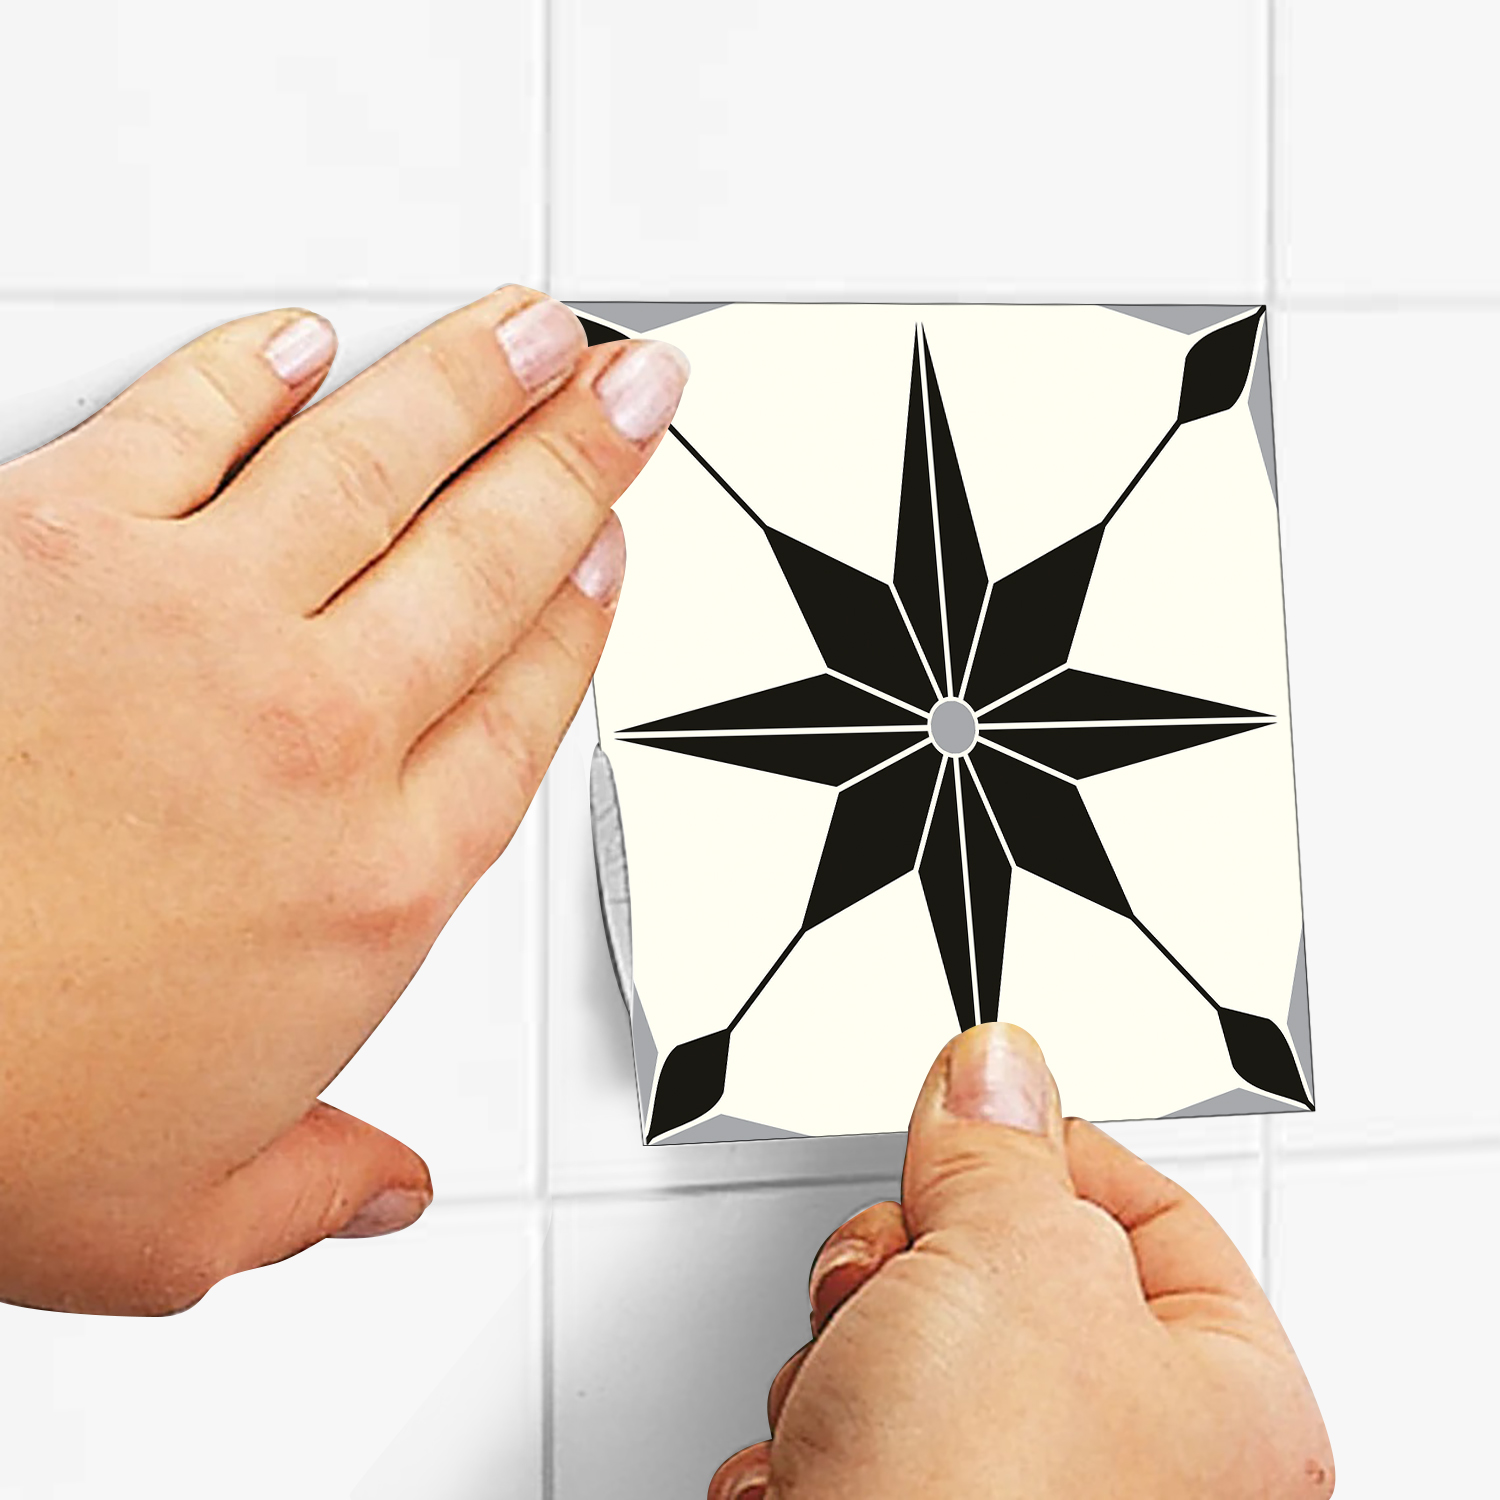
STEP 3 : Stick
Stick the decal on positioned area & gently go over the sticker to remove any air bubble.
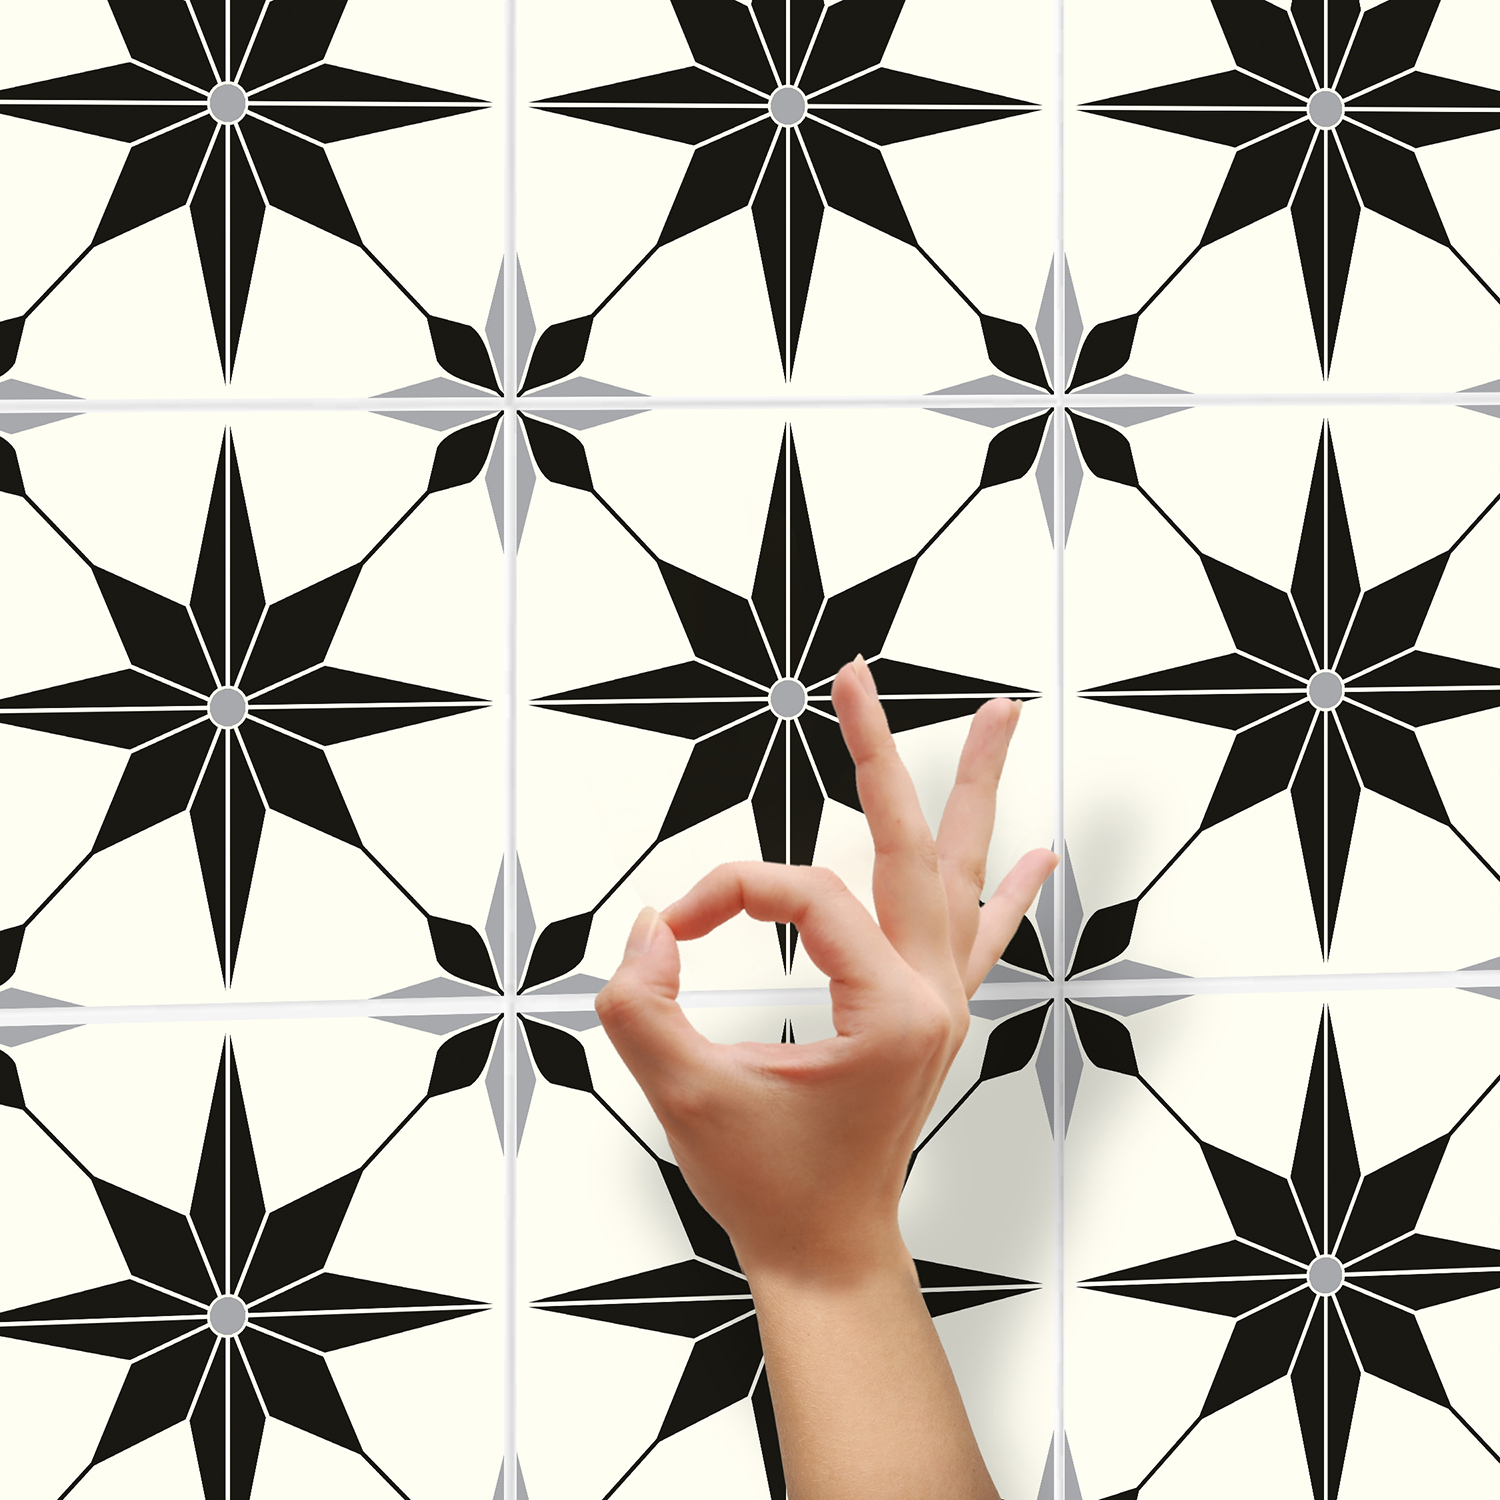
STEP 4 : Done
Easy installation ! Voila, you are done

